
DecoGeckos
New member
I posted this on a different forum, but figured I would post it here as well, as it gave quite a few people ideas, and lots of questions surfaced. This rack was a JOY to make, and I think it turned out very well. It houses 40 geckos of any size (I use same size tubs for hatchlings/adults, only furniture varies), and has 4 breeding tubs on the bottom.
We decided to "daisy chain" all the rows of heat tape together, but being that I only have 12 geckos at this point (obviously going to change this season!) we didn't want the WHOLE rack running all the time. We decided to put a little LED rocker switch at the end of each row, to turn the individual shelves on by the flick of a switch.
The ONLY problem...the LED rocker switches we got were defective...they DO work, but the LED lights did not light up. We tried EVERYTHING, and finally contacted the seller, who is having us ship them back to him. So we are waiting on those!
A few people have asked for pictures, so here they are...
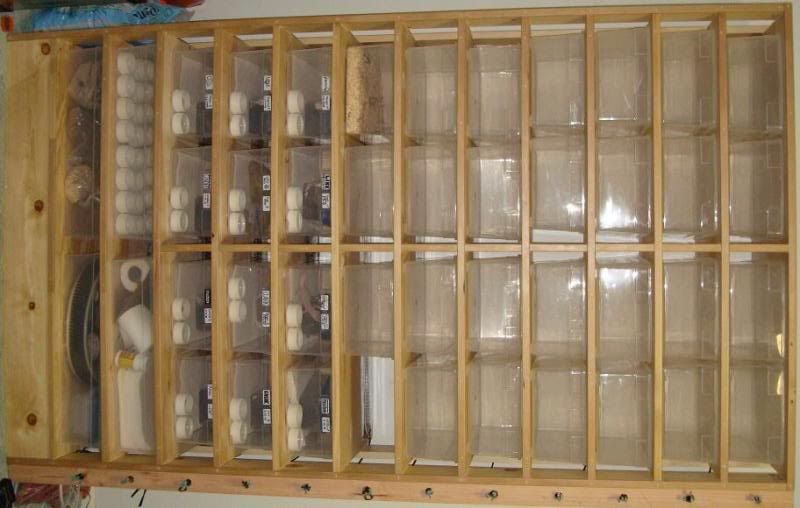
The whole rack with switches on the right, to turn on each individual row:
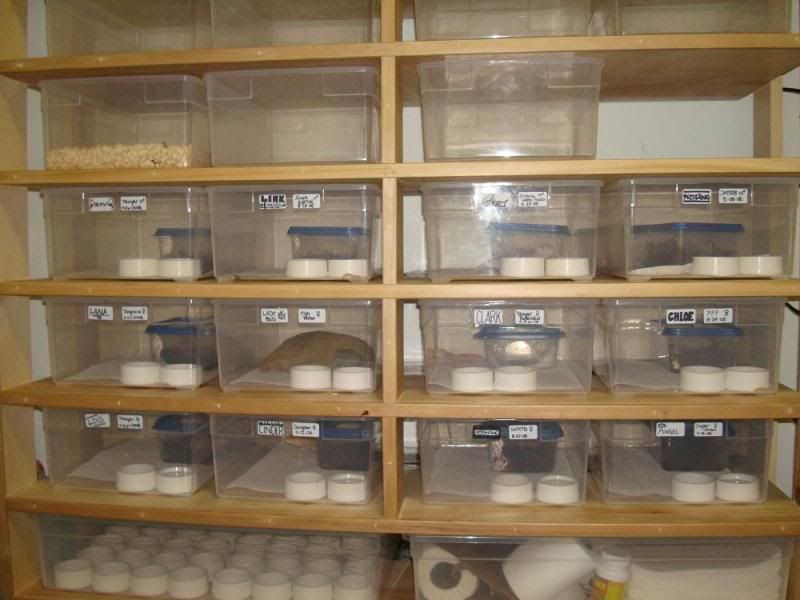
Close up of the geckos snug in their homes") :
:
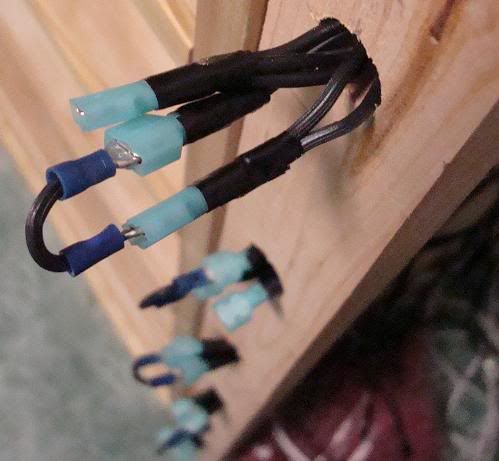
Wiring sticking out for the switches to connect to...then they push back into the holes and sit flush with the wood:
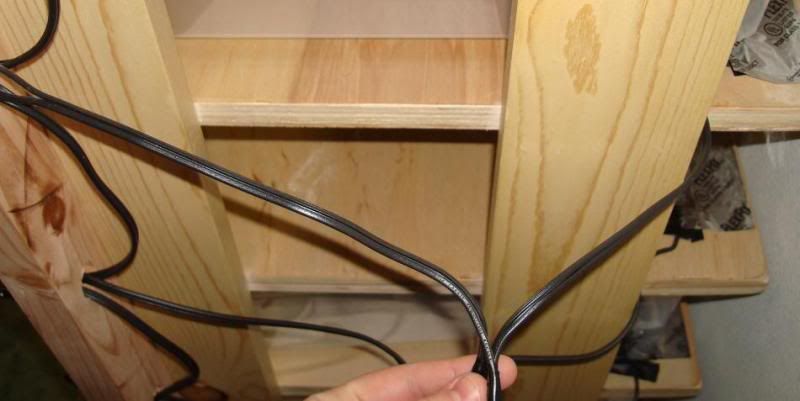
Wiring from the switches (left) to the heat tape (right). What I am holding is where we connected instead of running straight to the heat tape, so that if anything ever goes wrong with it, it is an easy fix!:
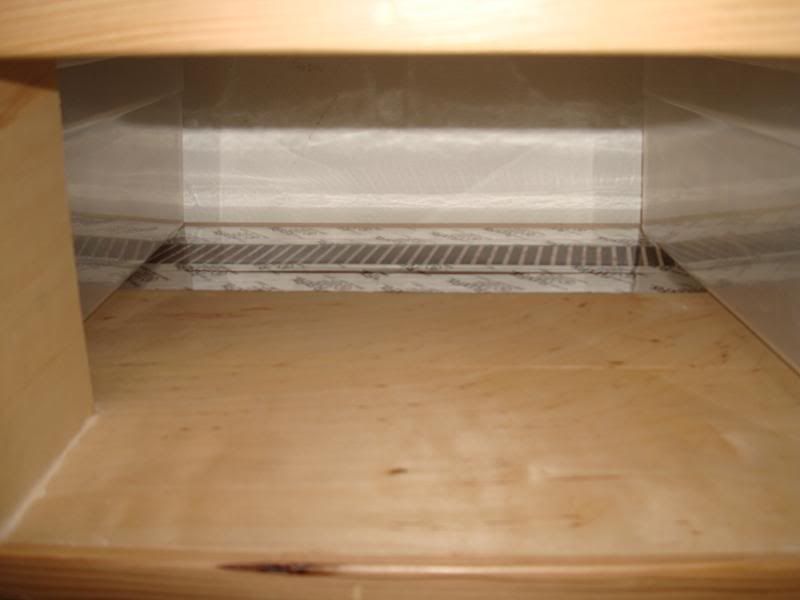
Heat tape running along the back of each row:
We decided to "daisy chain" all the rows of heat tape together, but being that I only have 12 geckos at this point (obviously going to change this season!) we didn't want the WHOLE rack running all the time. We decided to put a little LED rocker switch at the end of each row, to turn the individual shelves on by the flick of a switch.
The ONLY problem...the LED rocker switches we got were defective...they DO work, but the LED lights did not light up. We tried EVERYTHING, and finally contacted the seller, who is having us ship them back to him. So we are waiting on those!
A few people have asked for pictures, so here they are...
The whole rack with switches on the right, to turn on each individual row:
Close up of the geckos snug in their homes
:
Wiring sticking out for the switches to connect to...then they push back into the holes and sit flush with the wood:
Wiring from the switches (left) to the heat tape (right). What I am holding is where we connected instead of running straight to the heat tape, so that if anything ever goes wrong with it, it is an easy fix!:
Heat tape running along the back of each row: