Step by step naturalistic viv setup

gbhil

New member
Last edited:

gbhil

New member
Location

Many people don't put enough thought into this part of their viv setup. The vivarium's location will determine how you go about heating, planting, maintaining moisture, and setting up your lighting to some degree.

The best location would be somewhere that
  1. Has a daytime temp of 75F
  2. Has a nighttime temp of 65f
  3. Gets ~3 hours of natural light from a Northern window
  4. Has an ambient humidity of ~60%

Easier said than done. The things to remember are much more straightforward, thankfully.

Watch for direct sunlight.
Some natural light is good for a planted viv, but too much can be detrimental. Stay away from West and Southwest facing windows, the afternoon sun in the Summer can quickly overheat your vivarium. Be careful with East facing windows, and North facing windows are best. They allow the benefit of natural light without much of the heat from direct sun. Remember, just a few hours a day is enough.

Mind your temperatures.
The most important issue is to have a steady ambient temperature, ideally with a 10 degree night time drop. Watch for temps that get too high, it's much easier to heat a viv than to cool one.

Ambient Humidity
Often overlooked, yet pretty darn important. Temperate and tropical vivariums have pretty similar moisture thresholds at the bottom end, and really shouldn't drop below 50% RH. The easiest way to make that happen is to keep them in a room that's constantly above 60-65% RH to begin with. Of course desert and other xeric terrariums will have different needs, but they aren't part of the scope of this document :)

Privacy
Animals that feel secure act much differently in their home than animals that feel stressed or vulnerable. Place your viv in a quiet corner away from lots of foot traffic. Your occupants will be less filghty, in turn doing less damage to the plants. I like to place a comfortable chair in a position that I can quietly watch and enjoy a cup of coffee when I want to check out my viv. Corners are your friend, as they block off a side of the viv causing less undiscernable movement for your animals to see.

Once you've figured out where you want to place your terrarium, we can move on to the next step.
 
Last edited:

gbhil

New member
Background

Terrarium backgrounds not only add to the appearance of your vivarium, they are functional. Arboreal inhabitants will use them to climb on and roost, and plants can be affixed directly to them. They can also be integrated into a water feature, or a drip wall.

Pre-Made backgrounds
These range from the Styrofoam Exo-Terra backgrounds, to absorbent materials like tree fern or epiweb. They provide a great alternative to a DIY background, and can be very visually appealing if set up correctly. Things to consider are looks, plant mounting options and moisture holding ability.

Looks are subjective, so i won't go into that area. You know what you think looks good to you. Roll with it.

Plant mounting options - Plants rooted in the substrate or a pot can be pinned to any background with small stainless steel pins. You can train almost any plant to grow along the background. Background materials like cork will also allow the plants to grab hold naturally, then the pins can be removed after a time. Plants mounted with their roots on or in the background need something that holds a bit of moisture. Tree fern panels are readily available, easy to cut to fit, and look quite natural. the more advanced hobbyiest may want to go with epi-web, as it lasts forever and is ecologically sound.

If you want a water feature incorporated into your background, Styrofoam and cork make excellent waterfall surfaces, while tree fern and epi web make great drip walls.


DIY Backgrounds
A bit more advanced than this topic. The popular ways to construct a diy background can easily be searched, and can be a great way to include personal touches like sculpted rocks, planting pots, waterfall raceways, etc. Always a great choice if you feel you can tackle the construction.

For this tutorial vivarium, I've used a Great Stuff foam base, with some slabs and pieces of cork I had on hand. I didn't take the background the whole way to the bottom, but you can do so without any problems if you like. I just ran out of cork lol.
005.jpg
006.jpg


Once we have the background in place, it's time to consider the base layer.
 
Last edited:

gbhil

New member
Base Layer

Drainage is a must have for any terrarium with live plants. You're going to water them, so the excess water needs to go somewhere. You can easily add a drainage layer to a terrarium in one of three ways.

False Bottom
A piece of eggcrate lighting diffuser is cut to size, covered with vinyl or fiberglass screen and suspended above the floor of the viv. The planting substrate is placed on top of this, and underneath is filled with water. Use short pieces of PVC pipe to suspend the false floor. This is an excellent way to use an internal pump for a water feature. You can also add a submersible aquarium heater for supplemental heat and humidity.

Drilled Drain
A hole is drilled in the bottom of the terrarium, fitted with a bulkhead and a false bottom is constructed as above. Great way to use an external filter as a water feature pump, and allows for draining of the water in the false bottom easily if needed. Glass drilling is surprisingly easy, provided you procure the correct drill bits. Using foam or screening, you can also use a drilled bottom tank with a leca base layer as described below. Simply cover the opening on the bulkhead fitting with the foam or screening. This is my preferred method, as i get the benefit of the leca base and can use in-line aquarium accessories to heat, monitor and add fertilizer to the water in a drip wall.

LECA Base Layer
Light Expanded Clay Aggregate
Also known as Hydroton, Hydroballs, Schultz's Aquatic Soil, and Turface. Add two inches to the floor of your viv, cover with fiberglass screen, add planting substrate. Couldn't be easier. Allows many plants roots to hit the water table and grow like crazy, and adds a reservoir or nutrient rich water under the substrate as in nature. Also a great home for beneficial microorganisms much like a biological aquarium filter. Also the best way to grow your plants hydroponically inside your vivarium.

For our tutorial vivarium, I've used ~2 pounds of Hydroton clay balls. Since I'd like to be able to place this terrarium outside the herp room, I've not drilled out the bottom. It will be fine, as I plan on using a halogen black light to heat it, and that should keep things from getting too wet.

007.jpg
010.jpg


Once we have the base sorted out, time to move on to the planting substrate.
 
Last edited:

gbhil

New member
Planting Substrate

There are a million (if not more :) ) different recipes and suggestions for this out there. Many work, many do not. I'm going to offer my simple, tried and true formula for an all purpose planting substrate for both temperate and tropical vivariums.

Ingredients
  • Small bag of natural wood charcoal
  • Orchid bark or Coco husk
  • Brick style Coco peat
  • Handful of clean, unsterilized topsoil or compost
  • Dead hardwood leaves

Hydrate your coco peat using distilled, R/O or De-chlorinated water.
Break your charcoal into small chunks with a hammer. About the size of a pea is good.
Mix equal amounts of the charcoal with the orchid bark or coco husk.

In a clean container, add the handful of topsoil or compost. It's important that this be non-sterile, as it's the source of most of your beneficial soil inhabitants, and it gives them something to eat until your terrarium is a functioning ecosystem. In the container, add one part of your bark/charcoal mix. Add two parts of your coco peat. Place about 1.5" of this mix directly onto your screen substrate divider. Add two to three parts of your coco peat to the container and mix. Set this aside to add after planting.

Place your hardwood leaves (I use Oak, Elm, Magnolia, or Willow) in a clean bowl and wash them in clean cold water. Then place them on a cookie sheet and bake them at 200F in the oven until they are dry. This will kill any plant parasites or eggs present on or in the leaves. Once dry, set them aside for later.

In your vivarium, plant your plants in the coarse mix you've placed in the viv. Read the next section to learn a bit more about plants and planting. Also add any wood or stone accents now. Once planted to your satisfaction, add the remaining mix (with the extra coco peat added) until you have a layer of substrate about 4" deep. Saturate the substrate with a good organic fertilizer ( I use Alaskan Fish Formula 5-1-1) according to the directions. On top, add a layer of your leaves covering the soil mix completely. Don't make the leaves too deep, just cover all the surface.

In order - close up of the coarse mix, the fine mix, and the base layer covered with 1.5-2" of the coarse mixture

018.jpg
020.jpg
012.jpg


Next, on to plants and planting techniques.
 
Last edited:

gbhil

New member
Plants and Planting Techniques

This is a document geared to beginners, so I'm going to stick to the basics here. There are many sites on the internet with more and more advanced information, and I do suggest one takes the time to google them out and read them.

Plants for your vivarium
Some plants just do great in a terrarium, whether it be tropical or temperate. For your first attempt, I suggest the following:
Rock fern or Button fern
Pothos
Rex Begoina
Ficus pumilo
Dracnea
Sansivera
'Lucky' bamboo

These will flourish and be quite forgiving of mistakes. Notice I don't have any bromelaids on this list. they need more light and more room than most hobbyists realize, and aren't really suited for a small, beginners first terrarium. Careful with the pothos and lucky bamboo if you have inhabitants that will eat them, as they are slightly toxic if ingested. Note that the ferns will appear to die back when replanted, but will soon send new shoots and look good as new. Just be sure to slightly shade them with wood or other plants for best growth. Also be warned that if cared for correctly, Ficus pumilo will need regular trimming lest it overtake your terrarium :) .

Of course, there are many other plants that will do well in a terrarium, and are readily available. Look for plants that require moist, low light situations and can tolerate damp roots for better success.

Planting techniques
Note that these techniques are for hardy plants, and other more sensitive specimens may not tolerate them very well.

Preparing the plants -
Remove the plant from it's pot carefully. Use a chopstick to untangle the roots as best you can, then rinse away as much of the soil as possible. Dip the plants in a solution of 99% water and 1% household bleach for three minutes to kill any hitchhikers. Rinse under clean cold water thoroughly. Using sharp scissors, trim away the end third of the roots and place the plant in a damp paper towel until you've prepared all of them and are ready to plant them. This sounds like a lot of work, but it's a great habit to get into once you're dealing with rare expensive plants and don't want to introduce aphids or other pests to an existing viv. If you decide not to do this, at least get all of the perlite and fertilizer out of the rootball before planting, as these can kill your inhabitants.


Planting into the substrate -
Take the plant and spread out the roots in a circle. Scrape away the substrate to a depth of 1/2" and place the plant in the center of the hole you've made. Scrape the substrate back, covering the roots. You may have to support the plant until you have the top substrate layer in place. I use chopsticks for this.


Planting into the background -
Place the plants roots into a large piece of sheet moss, spray it down and roll it up like a burrito. Then take the bottom and fold it to the base of the plant, making a little package of roots inside a wrapping of damp sheet moss. Use stainless planting pins, or copper wire to pin the plant to the background, roots facing down and leaves up. Carefully spray a diluted fertilizer mix into the bundle of roots and moss. Keep the root package damp if not using a drip wall for watering.


Planting on wood or other accents -
Prepare a root package as above. Use light fishing line to tie the plant in place, or drill a hollow into the wood and place the package of roots in the hole. Use fishing line and not thread, as it never rots away. Fertilize as above, and keep it damp.


In the first photo you can see how I've 'planted' a potted orchid. The pot is tied to the small piece of cypress wood, and mulched over with straight coarse coco fiber mix. This is then placed on top of my first layer of soil, so the orchid can get the drainage it needs. The second photo shows the orchid, a healthy piece of F. pumilo and a spider plant in the soil, with a covering of elm leaves. The twigs and other hardscape will make a great hunting grounds for the L. lugubris (my favorite geckos) who will soon over-run this vivarium :) (pic 3)

021.jpg
025.jpg
032.jpg


On to the next step!
 
Last edited:

gbhil

New member
Heat and humidity

Keeping the conditions right inside your terrarium is an often discussed subject, usually leaving the new terra-phile more confused than when they began. It's not really that difficult, just a few things to consider.

Other than having perfect conditions in the room your vivarium is placed, there's a few simple ways to add ambient heat to a terrarium.

Aquarium heaters -
If you have a false bottom filled with water, this is a great way to add additional heat. Set the heater to warm the water to 80F, and shut off with the lights on a timer. This also will bring the humidity up slowly all day long. At night, the water will retain heat for a while and slowly drop the temp until the lights come back on. What more could you want?

Heating with lamps -
The preferred method for any arboreal animal. I like to use a small halogen light combined with a low wattage red light. Leave the red light on at night for low and easy heating. This tends to dry out things a good bit, so keep an eye on the RH.

Heating Pads -
IMO the worst way to heat a natural viv. The soil layer and/or background make a great insulating layer, so not much heat transfers through to the inside. They can be work pretty well if mounted low on the side of your terrarium, but they are pretty unsightly.

Humidity -
Live plants need things fairly moist. Keep this in mind when adding animals to your vivarium. First thing to do is place a digital humidity gauge inside the viv and watch things. As long as your RH stays above 50% you don't need to do anything. More than likely, it's going to drop after the lights come on. Once it hits 40-50%, spray down all surfaces inside the tank with distilled or R/O water until you get a good climbing number. Write down what time you needed to do this, and repeat. You'll soon have a schedule of when and how much you need to water things to keep it good and moist.
The next step is deciding if you want to automate things, or simply spray by hand. I like to hand spray all my terrariums, but I also use enclosures with little ventilation so things don't dry out very fast. A fogger or misting system on a timer can make things pretty darn easy here. Once you graduate to multiple naturalistic vivariums, it's time to call Mist King :)

Got all that? Take it all slow and step by step, and it's not hard to figure out at all.....onward!
 
Last edited:

gbhil

New member
Lighting

Fluorescent. Don't think any further. Other types can be used, but are more for the experienced folks with big viv's or special needs. After that, there's really only three areas of concern here - heat build up, spectrum, and UV radiation. We'll tackle the UV part first.

UV or not UV...That is the question.
Right off the bat let me say - plants do not require UV lamps. It's my opinion that they benefit from it a little, very little, but don't need it to flourish. Others say they benefit from it greatly, but I've not noticed that. OTOH, it does no harm to them. Simply put, if your animal inhabitants require it, use it. If they don't, you have no need to. Spectrum is far more important to plants than UV transmittance.

Spectrum
"Daylight" bulbs are defined by a Kelvin temperature between 5500 and 7100, with 6700 being the standard. Special plant grow lamps fall in the same mix, but cost more. They probably stay closer to the correct color for a longer period of time, but I buy the cheap ones :) . The only real difference is to your eyes. The lower the K. rating of the lamp, the more yellow things look when illuminated by them. The higher the K, the bluer they look. 6500-6700 is IMO a nice balanced green color, and provides light in the correct wavelength for photosynthesis, and that's what I like. If you want things a little more yellow or blue, feel free to try different combinations. As long as the light is intense enough within the right color range the plants will do fine.
*Special Note* GE makes a 9325K series of lamps that will push your plants into what I call hypergrow mode. I have no idea why, as I don't have access to a spectral analysis of them, but ask any serious aquatic gardener and I'll bet they use them. The reason they don't catch on in terraria (I think) is because of the ugly purplish-pink color they make everything look. I do use them to root cuts and for grow out of some plants, and they work well. Just really damn ugly.

Heat Build Up
We're not talking about heating your viv with lights here. That falls in the heating category. I mean extra heat that builds up at the ballast and lamps inside a light fixture. Look for a fixture that's vented, or if you're going big (30" + in length) look for a fixture with a cooling fan or two.

Screw in CFL lamps are probably the most popular way to light a small viv, and are IMO the worst way because they get the hottest of any type of flouro. If you are more of an optimist than I, there are many good reasons to use them - price, availability, and inexpensive pre-made fixtures to name a few. Just use them according to the directions, and if they get things too hot modify them a bit by increasing airflow across the lamps themselves. One 24 watt CFL lamp mounted no higher than 20" above them will illuminate 12 square inches with enough intensity to grow anything except some bromelaids or other high light plants. Two of them in a home-made fixture over a 12x12x12 cube get so hot they will burn the tips of ferns and dracnea...yes I know this first hand :)

I prefer linear flouros. The ballast isn't connected directly to the lamp so the bulbs are much cooler running. You can also mount the ballast(s) remotely if you're building your own terrarium furniture. Plain old aquarium strip lights are fine to grow plants with the correct bulbs. More high-tech and expensive T-5 or T-6 fixtures work great too. Let budget and aesthetics be your guide here.

Lately, I've been using a fixture from Zilla that incorporates linear florescent lamps with 50 watt halogen sockets for heat. They come in a round version or a strip version. After a little modification I find they suit my needs very well, and I recommend them to anyone in the market for a pre-made functional fixture that doesn't look too awful. They do get hot though, and you need a metal screen top to use them.

This pic shows the fixture I'm talking about above. These circular models are the best thing I've come across to illuminate and heat thepopular 12x12x18 terrariums.

034.jpg


We've just scratched the surface here, but I don't want to throw out an information overload. Feel free to post any in depth questions and you'll surely get an answer.
 
Last edited:

gbhil

New member
Microfauna

Bugs and other tiny creepy crawlies will eventually find their way into your viv. The best way to keep undesirable things out of there is to fill it with desirable things to eat all the food. Plants drop leaves, soil molds, animals poop, leaves decay. You can't stop any of this from happening, and you can turn it into a good thing with the right planning.

They base layer and substrate layer of your terrarium are a kind of a biological filter. Bacteria the eat waste and other 'by products' grow in the soil, and in the water in your base layer. In turn, their end product is a very good fertilizer for plant life. This is especially true with animal waste. The urates and solids are quickly broken down into usable nitrogen for your plants. Rather than removing the animal waste, use it to your advantage! If you followed my substrate recipe earlier, you have everything ready for a bacterial super colony to get things started. If not, it's pretty easy to add a pinch or two of pesticide and fertilizer free backyard dirt or compost and work it into your substrate mix. Add a few clean dead hardwood leaves and you're ready for bugs.

Springtails
Little tiny white bugs that hop and float around on the top of your substrate are likely springtails. They are your best friends. Small animals eat them with gusto, and they live to eat mold and fungus. I highly recommend ordering a culture of them online and keeping your viv well stocked with them at all times.

Isopods
Roly polies, potato bugs, woodlice, whatever they are called in your neck of the woods are a type of isopod. A beneficial type. They break apart and eat animal wastes, passing droppings that springtails will clean up quickly. Lots of species of lizards and amphibians eat them and they are a great source of extra calcium for them. Adding 20-30 of them to a small terrarium will keep a pretty constant supply of them rooting around and doing their thing. If you can't find these under a log somewhere, you can order them online as well. Another must have.

Millipedes
They do pretty much the same thing as the isopods, but like to climb and eat things up off the ground. Great to have for cleaning poop and decaying matter from wood or leaves. The big African Giant millipedes work fine in a big terrarium with big geckos, but the smaller ones are better most of the time. Every once in a while I see some for sale online, but these are really easy to catch in rotten logs or leaf mulch. No, they don't bite, but can excrete a nasty tasting juice, so wash your hands before you eat that sandwich. Another of those things I know first hand :)

Setting up the microfauna in a new terrarium
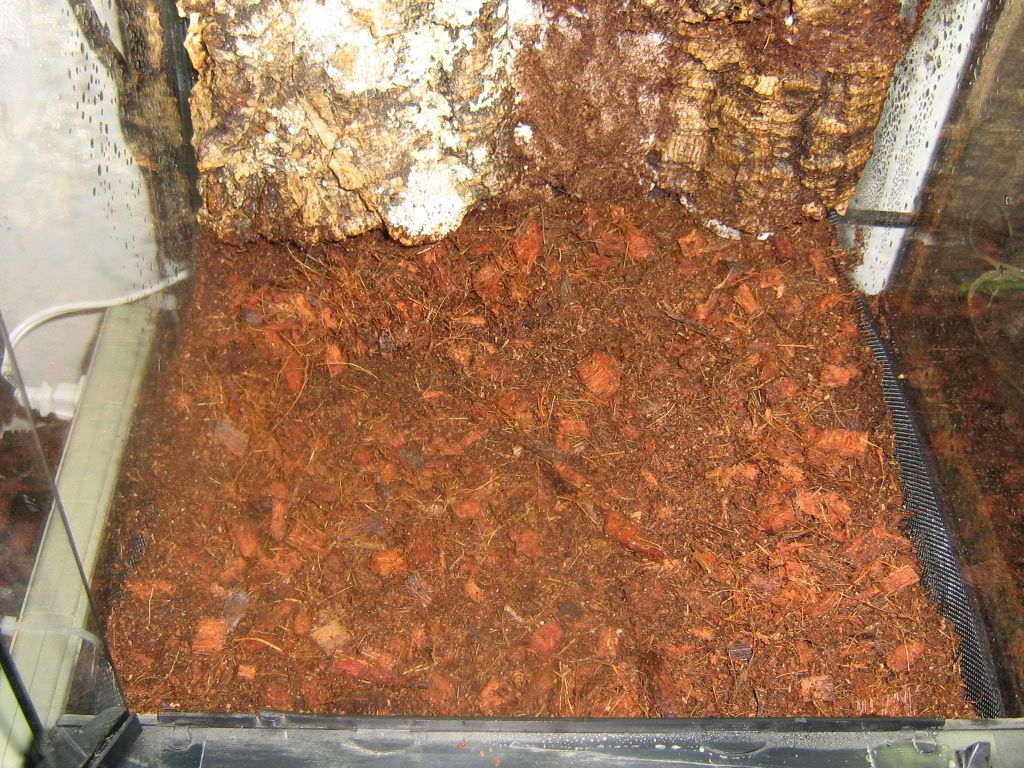
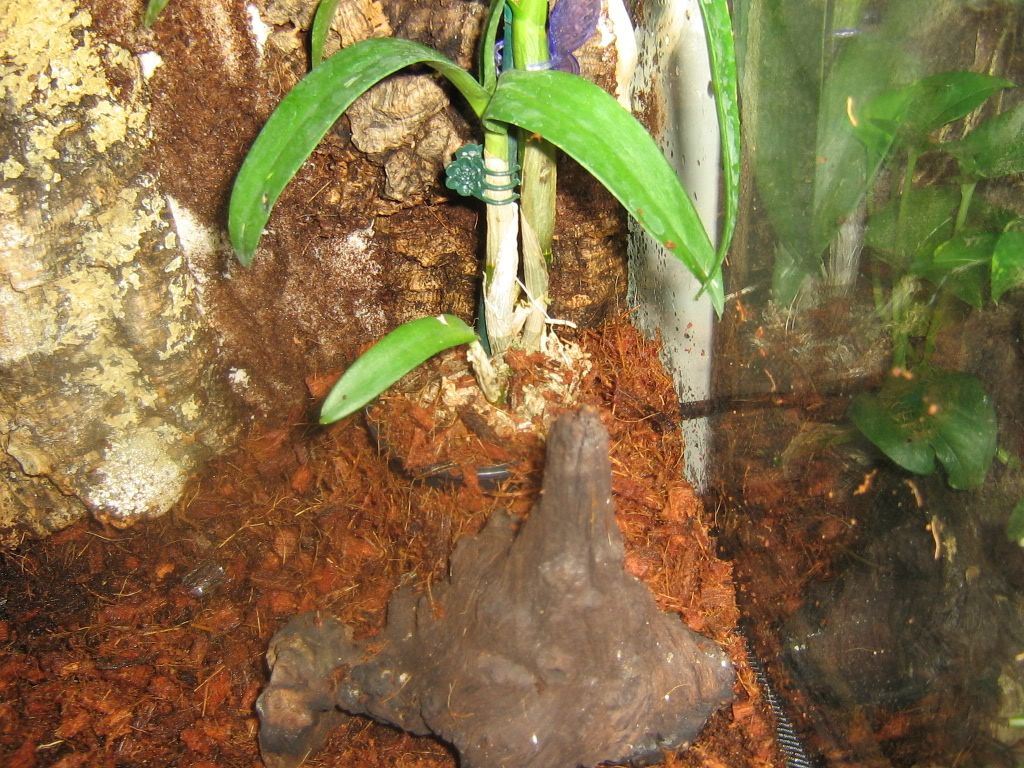
After everything is planted, lights and heat sources are working, get everything nice and wet. Sprinkle some cheap fish food (just a pinch) on the floor of your viv. Add your springtails. When you don't see anymore fish food, add some more. Doing this for a week or two without any other tank inhabitants will guarantee a massive colony of springtails ready to tackle an abundance of messes.

Give the viv a few weeks to settle and add your isopods. I like to add them along with whatever animals I'll be keeping so the clean up crew is ready and waiting for droppings. For a terrarium with a small footprint but lots of height, I like to add a few millipedes at this time as well.

Adding bugs to an established Viv
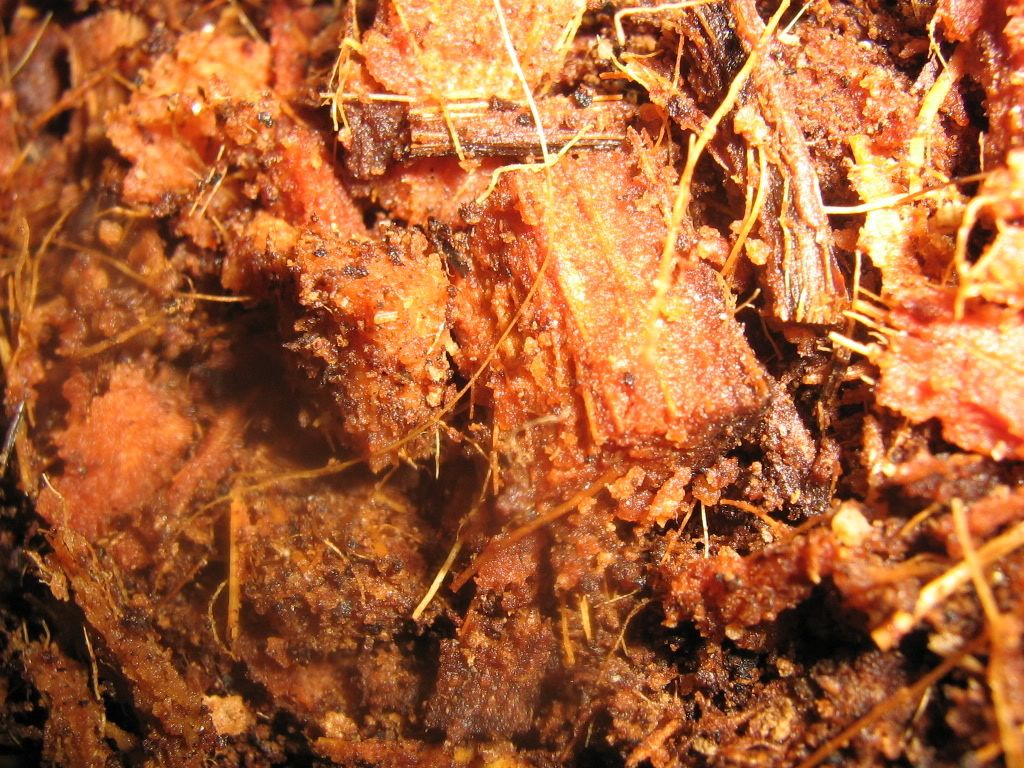
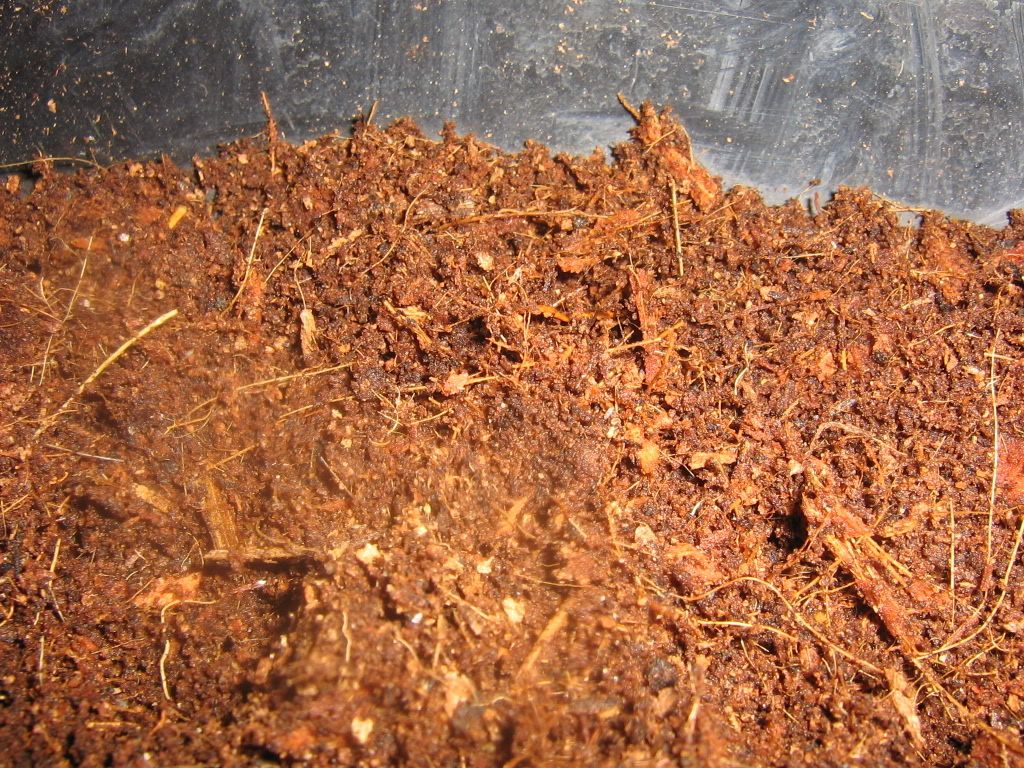
Start off by adding some clean compost or soil. Just a small handful. This will be full of beneficial bacteria to colonize your substrate layers. There is really no bad side to this. The areobic bacteria (think of these as the "good kind" ) will colonize any area with a supply of O2. The anerobic bacteria (some call this the "bad kind") will colonize areas with little or no O2. You NEED both in a terrarium. This is not an aquarium where spots with little or no current develop anerobic bacteria and become a ticking time bomb. The spots in your terraria that don't get a flow of fresh O2 never will, and vice versa. Just add it and let them do their thing - which is convert waste to fertilizer.

Next add some groundcover. The best method anyone has come up with so far is hardwood leaves. You can buy these already prepared online at any number of places. I use Elm leaves from the yard, and have for years with no bad results. Without groundcover your springtails and isopods will be sitting targets for a hungry gecko or frog.

Next step - feed your animals. Get their bellies full, then add in a few more feeders to keep them interested. This will give the tiny critters you're going to dump in a fighting chance to get under the groundcover.

Pick a corner of the viv, and place a few pieces of rice or uncooked pasta on the floor of the viv. The food stash will get your bugs breeding and populating your terrarium much faster.

Then just add your bugs. Do it with the lights on, so they are more inclined to scurry away rather than sit in a big delicious looking ball of food.

Keep the floor nice and moist. You'll probably see some white hairy fungus, especially if you put in a food pile for the bugs, but ignore it. The little critters you added will make short work of all the fungus you see, as well as things you don't see.

IMO this is the key to long term success in a naturalistic vivarium. The right microfauna will make a self balancing ecosystem inside your terrarium, and things should run smoothly for a very long time.
 
Last edited:

gbhil

New member
Maintaining your viv

The easiest part. Since we've created a complete mini-ecosystem, there is little to maintain.

Daily -
Check operation of all equipment
Spray to keep humidity up
Check condition of inhabitants
clean/refill water bowls if any
Enjoy

Weekly -
Wipe/spray glass sides and front
Fill false bottom if needed
Spray/scrape fecal matter off of vines and wood accents - scrape this right onto the floor of the vivarium.

Monthly -
Sprinkle a bit of fish food for your janitors to round out their diet.
Trim plants.
Fertilize.
 
Last edited:

gbhil

New member
Glad to help. This is something I've been meaning to do for years. I figure everyone can learn from my mistakes and mulchpiles of dead plants :)
 

Marsault

New member
Glad to help. This is something I've been meaning to do for years. I figure everyone can learn from my mistakes and mulchpiles of dead plants :)

It will be awesome, if you put some photos and schemes from your vivarial practice, to illustrate the articles. It is good to add some color here ;-)
 

gbhil

New member
I just bought a new 12x12x18 zoo med to set up a tropical viv with. I plan to take pics throughout the process.

Thanks for the confidence!
 

Dendro_Dave

New member
Tons of vivarium info/links over at Dendroboard.com. We all pretty much house our Dart frogs in these types of setups so there is a ton of experience to draw from over there. I myself have built over 20 tropical vivariums ranging from 5-75gallons.

Like this one ;)
3133283691_36ff1a9886_b.jpg
 

thunderdome033

New member
Natural Vivarium

Wow, I could not find anything better even on google! haha! Very specific thank you so much. BUT.... I have a question about the lighting. I have a 12x12x18 cage with a glass top but about a 2 inch slot of screen that you can pull out (so you can remove the piece of glass) should I just take out the glass and fit a screen over the top? or would the glass be ok even with a light set up like your Zilla light? and one more....i would like to get that Zilla light, could you give me the model of that piece? anyways I really enjoyed reading the whole article.
 

PiTi

New member
Thanks for all the info! You made me understand the lightning thing and inspired me to make my own research on this subject. Now I got new light and my plants seem to enjoy it! ;) I got one question though. Why do you recommend covering hydroballs with fiber glass?
 
Top