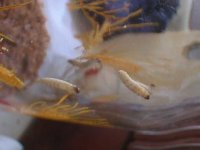
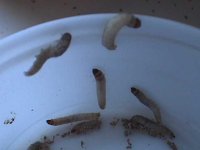
It gives me great pleasure to tell you that my wax worm colony is complete, with the hatching of many very tiny larva. They started with large wax worm larva purchased from a pet shop, after a while they turned into pupa, then into wax moths. The wax moths mated and laid eggs, the eggs hatched producing very tiny wax worm larva. These larva produce a stand of silk and with each producing a strand of silk the substrate gets glued together. They are very fast and can climb anything, including glass! I noticed that several of the worms had eaten a hole in the wax paper and used the material to spin a cocoon around themselves, so I transferred the entire piece of wax paper [with them glued to it], to a new jar.
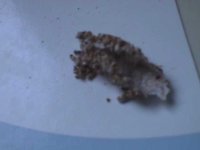
I then broke the colony apart by dumping the substrate composed of Wheat Bran, Honey and some Glycerin (moist but crumbly) onto a large paper. I found many tiny wax worms in the substrate which, due to all the silk strands was glued together. Then I found many many cocoons coated with the substrate, and each one contained a worm. I placed the old subtrate in a jar and capped it with sheer curtain as there were some extremely small worms left in the substrate (about 1/16th" or smaller). I then began a few new colonies using the wax worms from the original colony.
I fed a few to my Jewel Curly Tail lizards who really looked like they appreciated it! So, hopefully all the colonies will do well and I will have PLENTY of wax worms in a few weeks.
The key to success: keep the jar covered to keep the interior dark, make the substrate moist but crumbly and keep them toasty [above 85°F], as this helps them pupate and also to hatch out when the time arrives. Also use a sheer material as a lid and use a rubber band to keep it in place.
It took quite awhile to get the colony from start to finish as I began the colony 4/28/2012. So it took about 2 months from start to finish.
It appears I cannot attach photos to this article for some reason I will attempt to post them seperately.